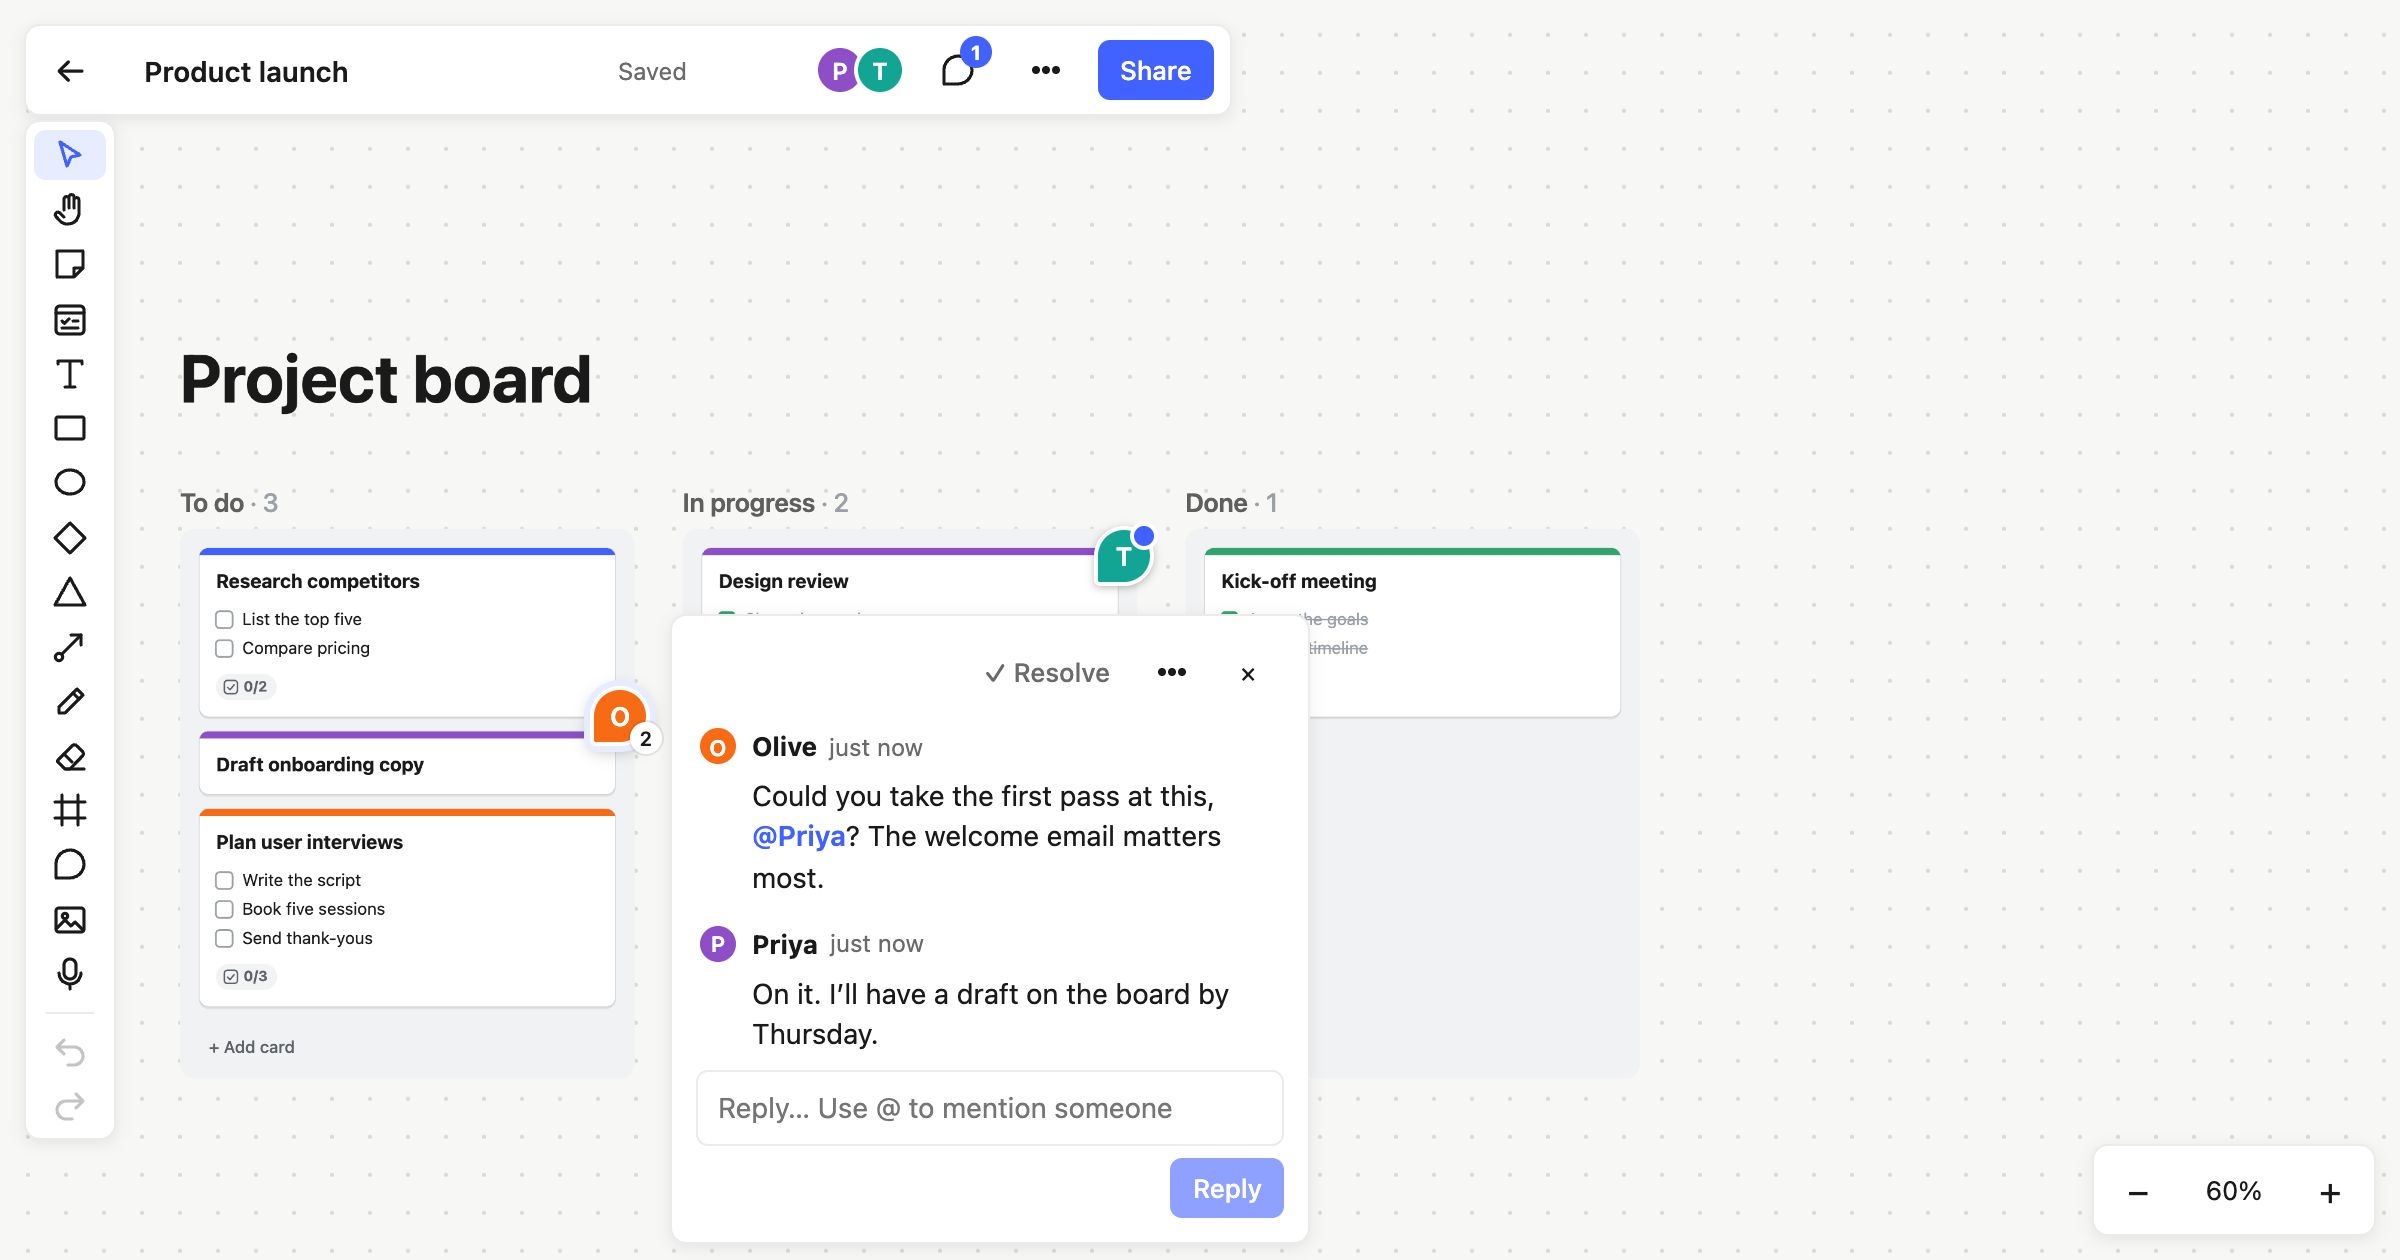
Plans rarely live in one place. The thinking happens on the whiteboard, the brief sits in a document somewhere else, and a link between the two is the first thing to go out of date. By the time the work starts, nobody is sure which version of the plan is the real one.
Atomic Lab now has docs, written right on the board.
A page on the board
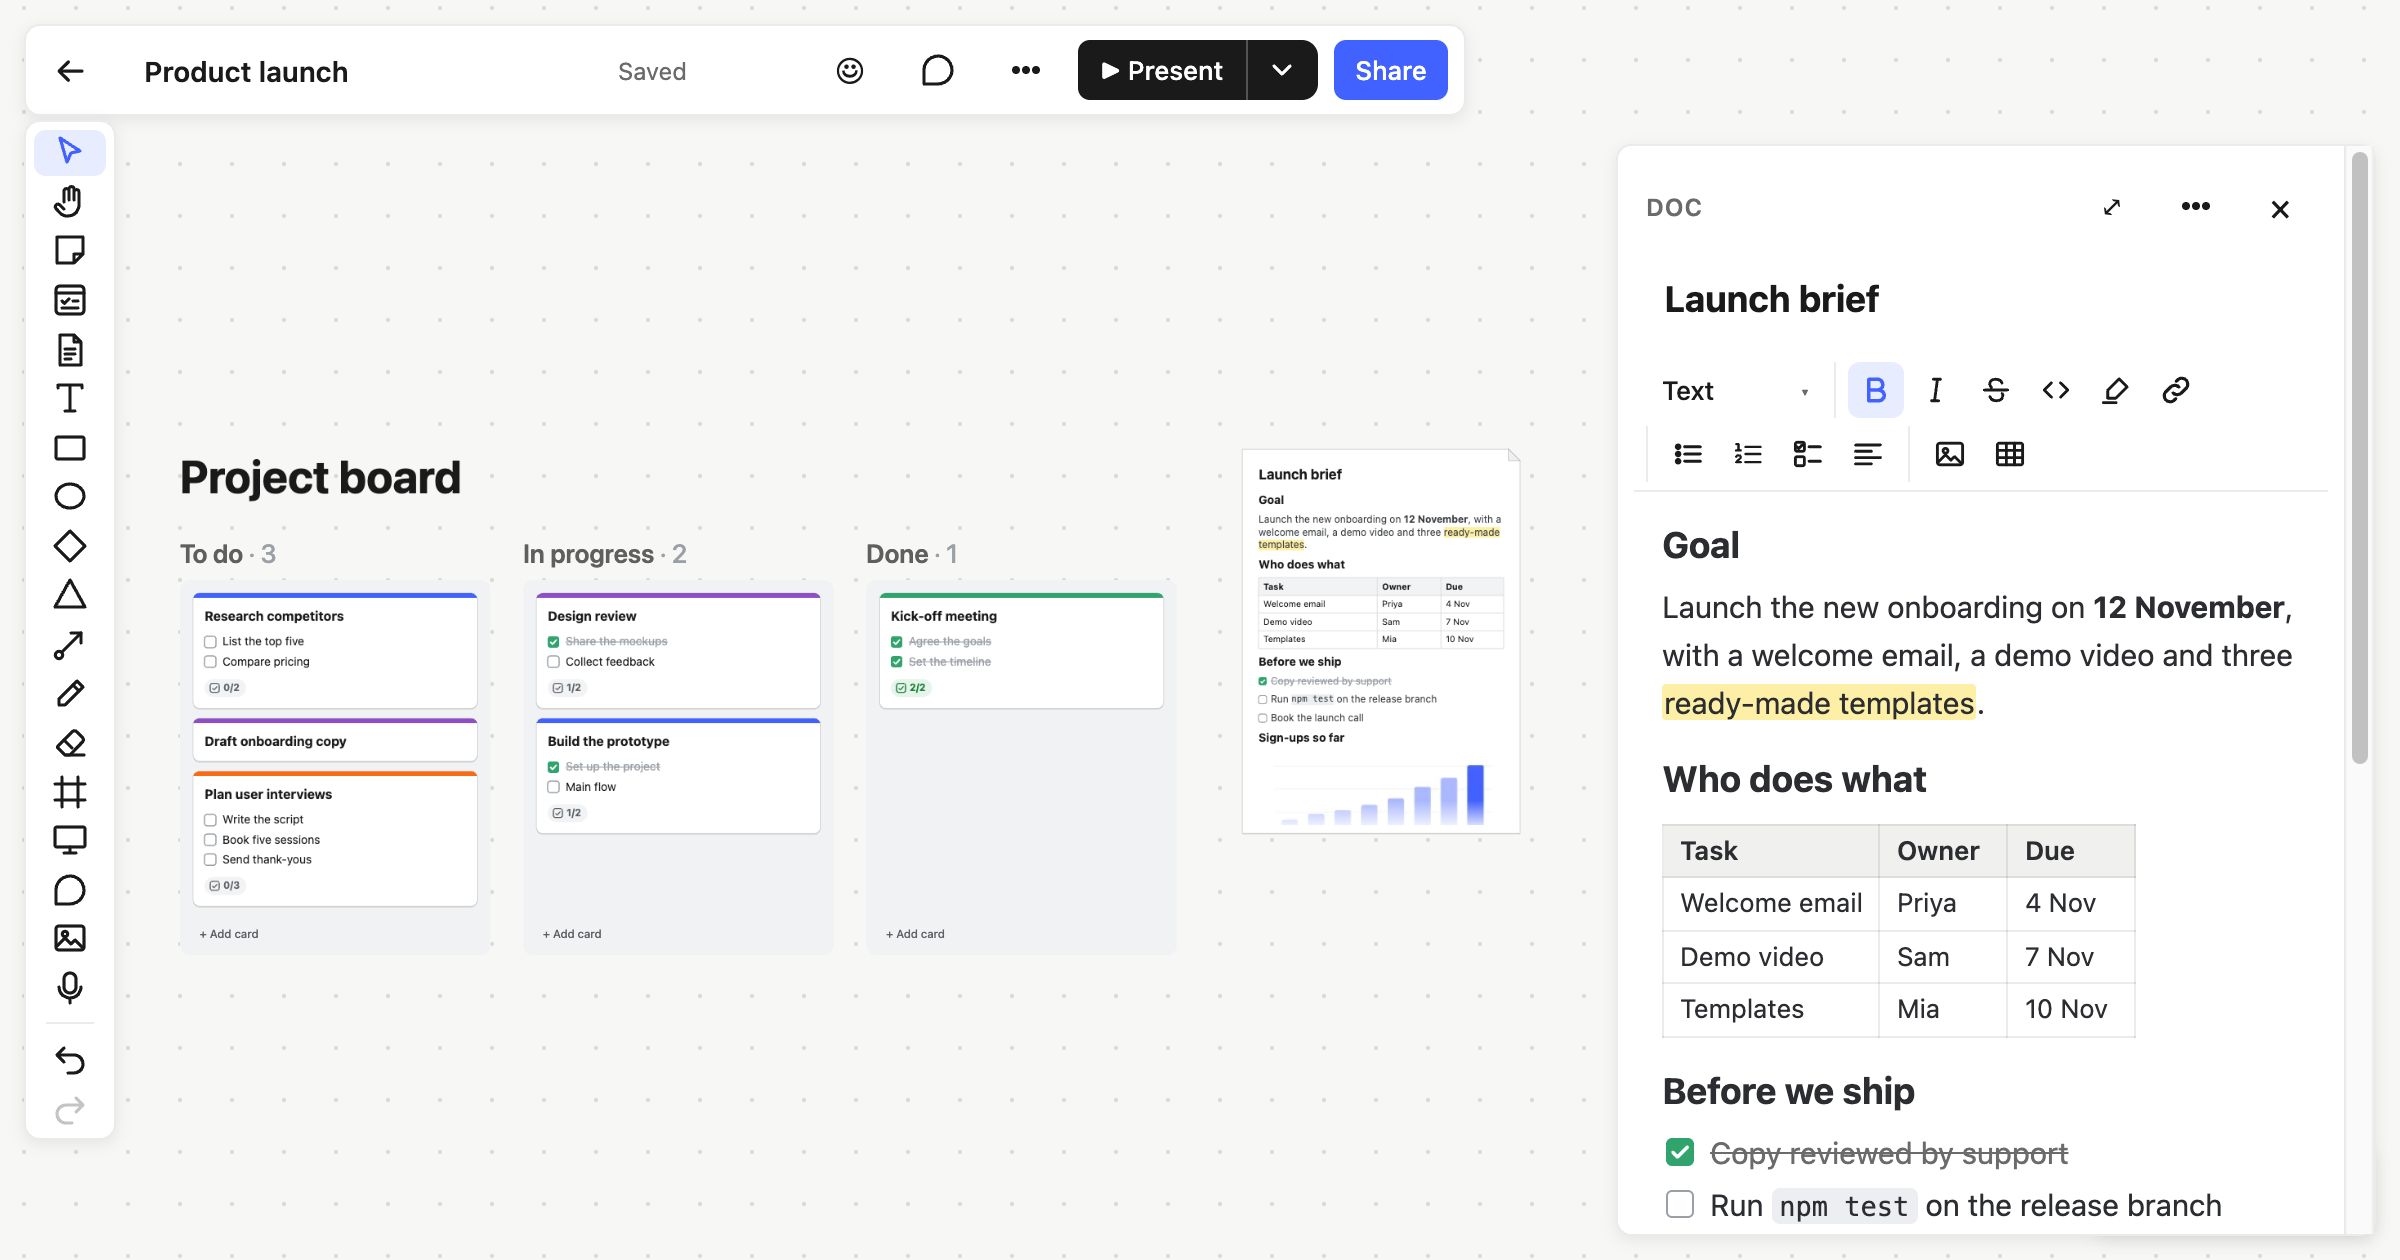
Press D, or pick the page in the toolbar, and click where you want it. A doc appears as a page on the board, showing its title and as much of it as fits, and it opens beside the board with the title ready to type. You can also right-click the board and choose New doc here.
The page sits with everything else: next to the Kanban board it plans, the sticky notes it came from, or the flowchart it explains. Make it bigger to show more of it. Double-click it to open it again.
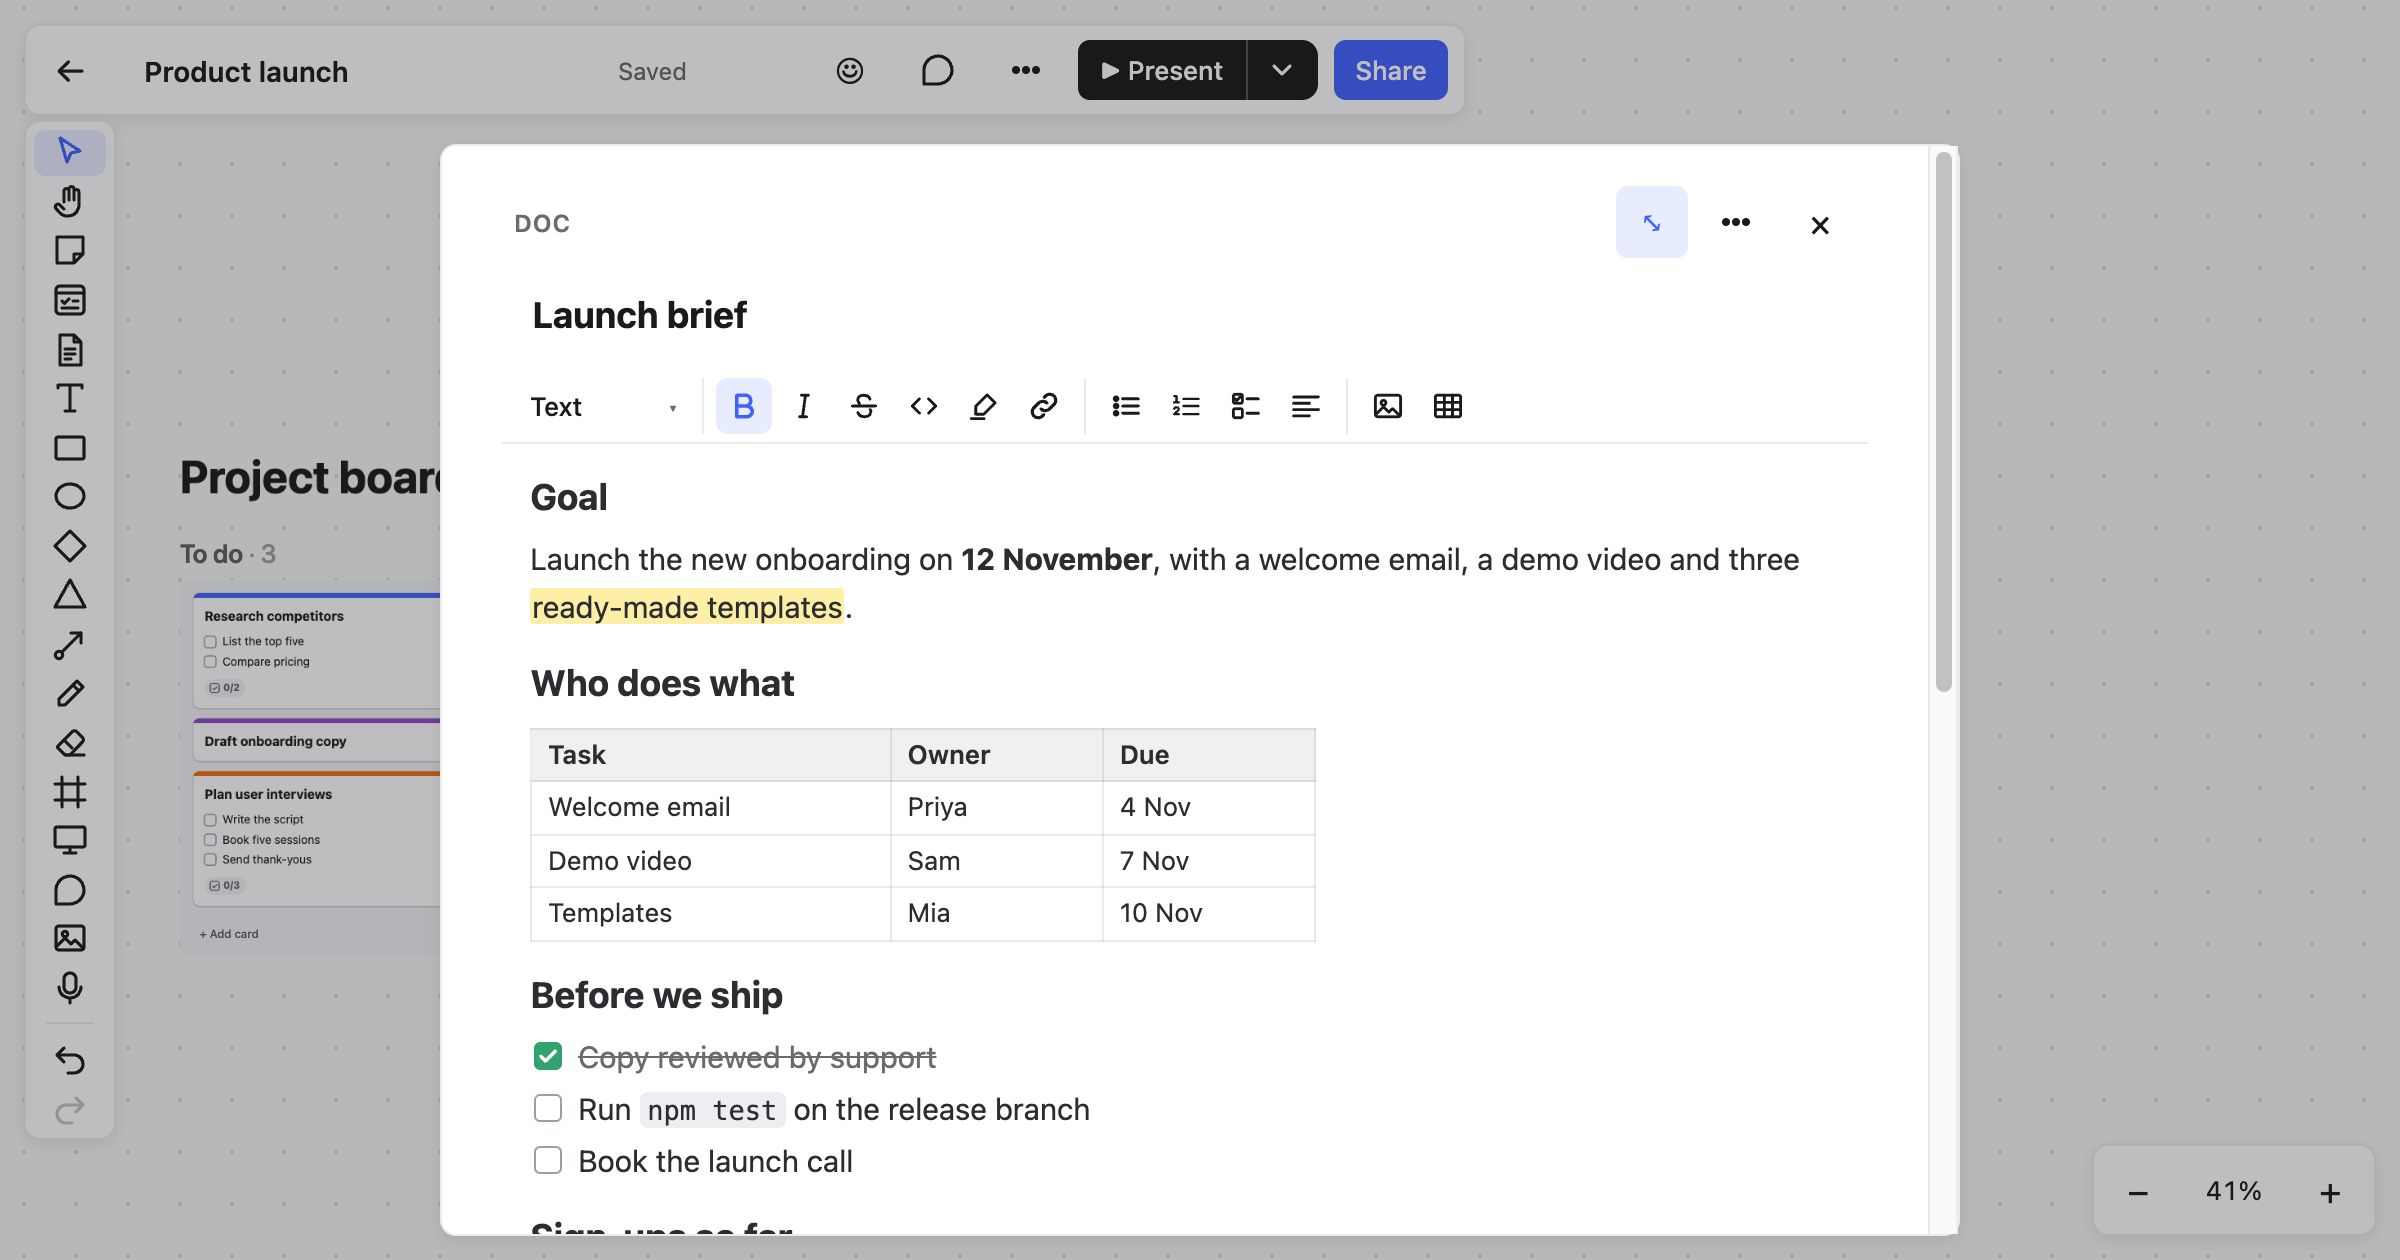
For longer writing, press Expand (⌘⇧E) for a wide column over the board.
Write as it reads
A doc is made of paragraphs, headings, bullet and numbered lists, to-dos, quotes, code, dividers, tables and images. Type / at the start of a line to pick one, or use Markdown as you go: # for a heading, - for a list, [] for a to-do and > for a quote. Tab moves a line in and Shift+Tab moves it back.
The toolbar above the doc does the same with a click. It also styles the text you select: bold, italic, strikethrough, inline code and a yellow highlight, or ⌘B, ⌘I, ⌘⇧X, ⌘E and ⌘⇧H. It aligns paragraphs left, centre, right or justified, and adds tables and images.
Tables and images
A table is a grid you type straight into. Tab moves to the next cell, Enter moves down a row, and pressing Tab in the last cell adds a row. The table menu in the toolbar adds and removes rows and columns, and the alignment button lines a column up to the left, centre or right.
To add an image, paste it, drop it on the doc, or choose it from the toolbar. Drag either side to make it narrower or wider, and type a caption underneath.
Paste from anywhere
Copy a reply from Claude, a page from the web or a section of a Google Doc, and paste it into a doc. Headings, lists, tables, quotes and code keep their shape, and bold, italic and links come with them. Cells copied from a spreadsheet become a table.
Write it together
Two people can write in the same doc at once. Each paragraph is saved on its own, a moment after you stop typing, so if you’re both writing in different paragraphs, you both keep your work.
Pin a comment to a doc, react to it, and find it with the board’s search, just as you would with a card.
Take it with you
The doc’s ⋯ menu copies or downloads it as Markdown, ready for a README, a wiki or an email.
Print or save as PDF prints the doc on its own, without the date, web address and page numbers browsers usually add. Press ⌘Enter to start a new page wherever you want one. A saved PDF is named after the doc.
Getting started
- Open a board and press D, then click where the doc should go.
- Give it a title, press Enter and start writing. Type / to add a heading, a list, a table or an image.
- Close it, and it stays on the board for everyone to read. Double-click it to pick up where you left off.
Docs are on every plan, including Free. Images in docs count toward your workspace’s storage, just like images on the board.